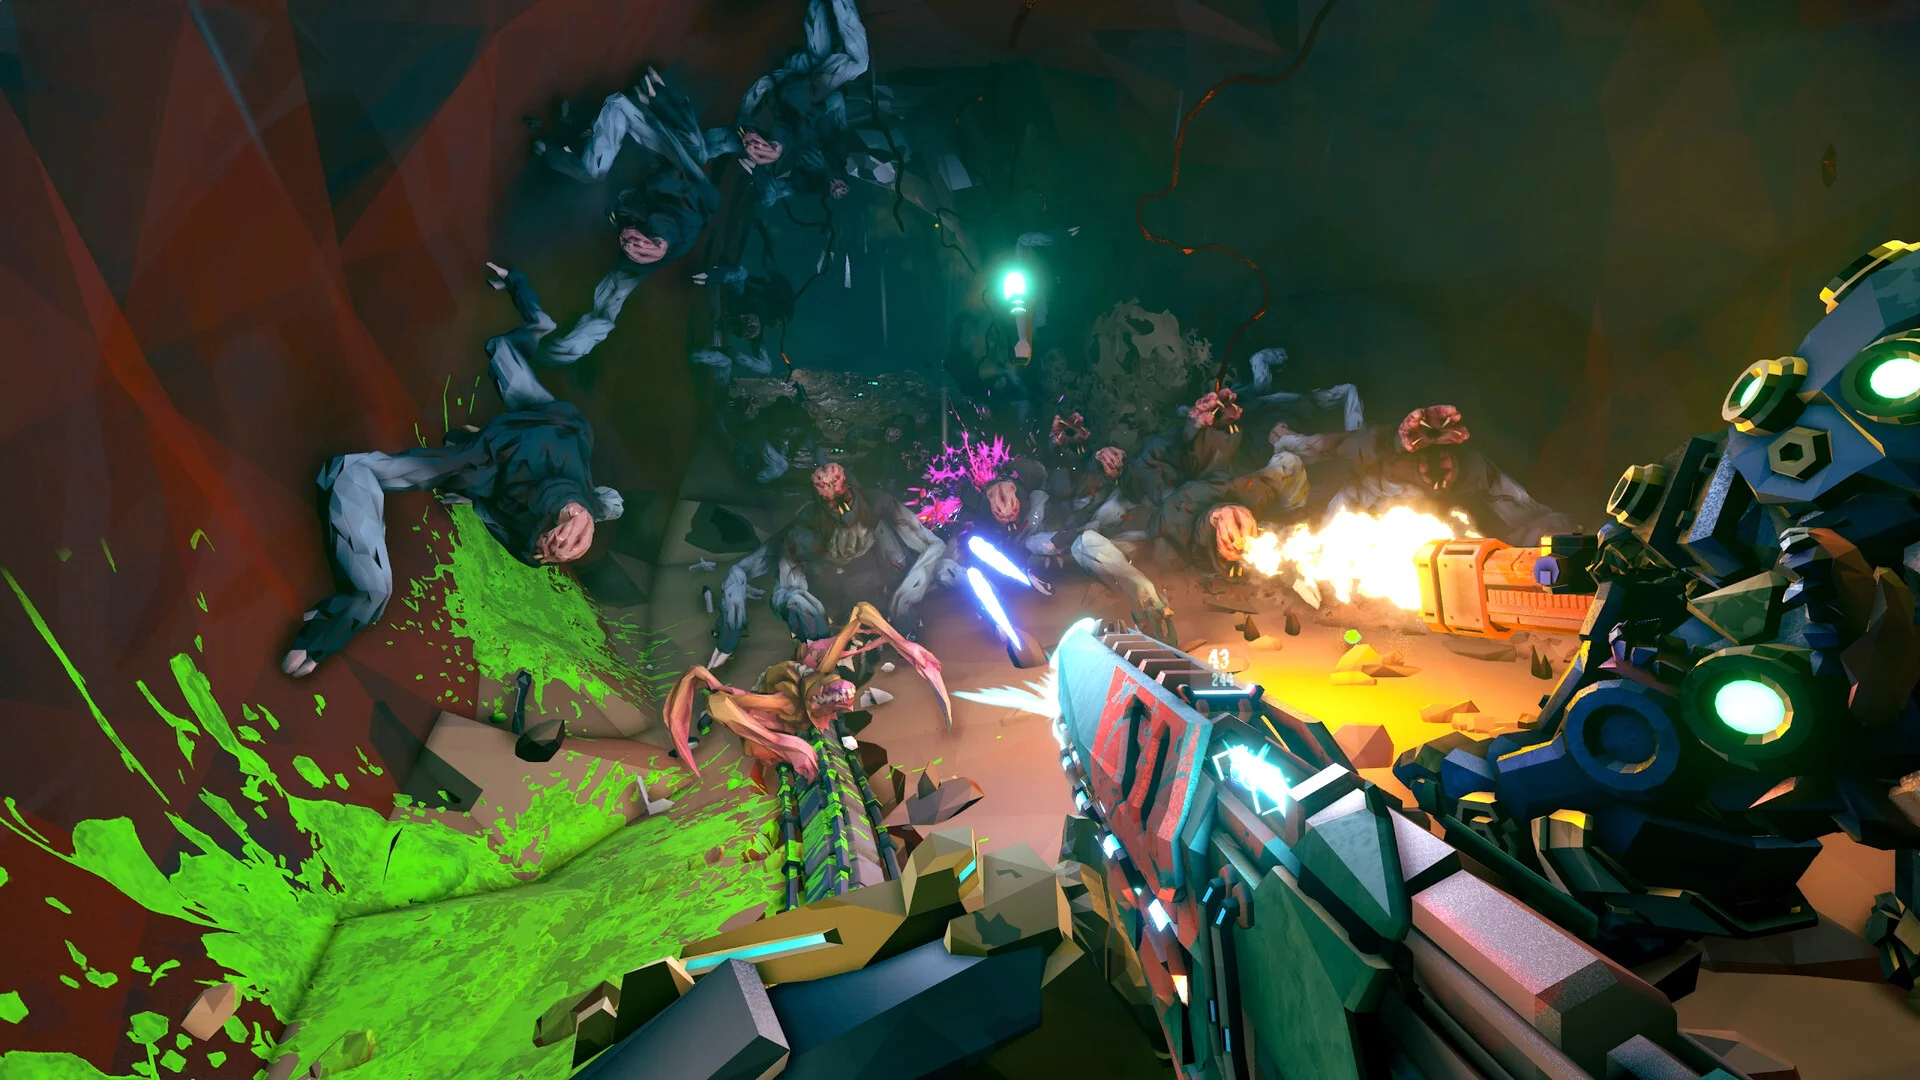
- Deep Rock Galactic Rogue Core new classes: The Spotter is a support-Reclaimer with elite offensive scaling
- Core ability: Crit Dart marks enemies so all incoming damage critically hits
- Best build path: Crit chance, crit damage, and weak spot damage amplification
- Best weapons: Beltsrom CMP60 for run-and-gun, M1000 Classic for precision
- Critical rule: Stay mobile — the Spotter plays as a glass cannon, not a tank
Spotter Overview: The New Classes' Information Specialist
Among the Deep Rock Galactic Rogue Core new classes, the Spotter stands out as the most misunderstood. On paper it looks like a pure support role, but in practice it is an information-and-amplification specialist that turns your entire squad into a crit machine. The deeper your runs go, the more valuable the Spotter becomes, because elite enemies spiral out of control fast at higher complexity.
Video Highlights:
- Crit Dart marks targets so your whole squad lands critical hits
- Active Scanner outlines enemies and supplies for the entire team for 10 seconds
- Ranger's Pocket deploys a single-use emergency ammo pack that refreshes at munitions crates
- Sticky Grenade plus Crit Dart melts elite enemies and bosses
The Spotter is not a front-line tank. Your job is to identify the biggest threat in the room, mark it, and help your team delete it. You win fights by making everyone else stronger.
Spotter Kit Breakdown
The Spotter's toolkit is built around three abilities that feed into one another: marking, revealing, and resupplying. Understanding how they chain together is the difference between an average Spotter and an essential one.
| Ability | Type | Effect | Best Use Case |
|---|---|---|---|
| Crit Dart | Primary | Marks enemies; incoming damage crits; can create a ground zone on terrain impact | Large elites like Edge Stalker, Clammerhead |
| Scanner (Passive) | Passive | Scans nearby enemies every few seconds, marks them on display | General cave awareness |
| Scanner (Active) | Active | Outlines enemies and supplies for whole team for 10 seconds | Swarms, expedite events, elevator defenses |
| Ranger's Pocket | Utility | Deploys single-use ammo pack; refreshes at munitions crates | Emergency resupply mid-run |
Crit Dart Details
Crit darts travel extremely fast and directly mark enemies on hit. If the dart hits terrain instead, it creates a small zone — any enemies passing through become exposed and vulnerable to crits. The zone effect is situational, but it shines in tighter cave systems where enemies funnel through choke points.
Never throw crit darts at weak trash mobs unless things are completely out of control. Save charges for the biggest threat in the room — that target priority discipline is what makes the class feel essential.
Best Weapons and Grenades
The Spotter supports multiple playstyles well. Precision players can lean into accurate crit-focused shots, while aggressive players can run automatic weapons for burst damage stacking with Crit Dart.
| Weapon | Playstyle | Skill Floor | Notes |
|---|---|---|---|
| M1000 Classic | Precision | High | Rewards true aim; punishing on missed shots in chaos |
| Beltsrom CMP60 | Run and gun | Moderate | Forgiving, dynamic; great burst with crit dart synergy |
| Sticky Grenade | Burst utility | Low | Mark target, stick it, watch health chunks vanish |
| Cryo Grenade | Control utility | Moderate | Strong with the right supporting build |
Precision Build
- M1000 Classic focus
- Weak spot damage upgrades
- Higher skill ceiling
- Punishing on misses
Aggressive Build
- Beltsrom CMP60
- Crit damage stacking
- Mobile run-and-gun
- Highest fun factor
Support Build
- Cryo Grenade control
- Scanner-focused timing
- Team-enable priority
- Flexible scaling
The single strongest burst combo in the Spotter kit: mark a priority target with Crit Dart, then stick a Sticky Grenade directly onto it. Huge chunks of elite health disappear almost instantly — exactly where concentrated burst matters most.
Upgrade and Build Priorities
Your upgrade philosophy should reinforce what the kit already does: creating opportunities for massive damage bursts. Offensive scaling makes the class snowball.
| Priority | Upgrade Category | Why It Matters |
|---|---|---|
| 1 | Crit chance / crit damage | Directly amplifies Crit Dart value |
| 2 | Weak spot damage | Scales with precision weapon builds |
| 3 | Mobility / movement speed | Cave complexity rises with depth; glass cannons die when trapped |
| 4 | Weapon handling / accuracy while moving | Stabilizes aim during chaotic fights |
For bio booster decks, crit efficiency builds are the safest and strongest path for newer players — more crit synergy means more value from Crit Dart, more burst damage, and more team impact. For enhancements, continue reinforcing the same philosophy: anything improving crit damage, crit consistency, weak spot damage, or general offensive output feels strong.
Some upgrades reward standing still, and they can work with precision weapons — but the Spotter performs best when nimble and aggressive. Getting trapped as a glass cannon can end a run incredibly quickly.
Step-by-Step Spotter Gameplay Loop
Follow this repeatable loop every engagement to get maximum value from the class:
Identify the Biggest Threat
Scan the room and pick out the most dangerous elite — not the nearest enemy. Target priority is the core skill of the class.
Mark with Crit Dart
Land a direct hit on your priority target so the entire squad's incoming damage critically hits.
Focus It Down
Concentrate fire with your team. Coordinated squads make elite enemies disappear absurdly fast.
Reposition and Scan
Move before swarms close in. Activate Scanner during swarms, expedite events, or elevator defenses so the team sees pushes coming.
Repeat and Resupply
Loop back to step one. Use Ranger's Pocket when ammo runs thin, and refresh it at munitions crates.
Use Scanner more often than feels natural. If you just called the elevator, triggered an expedite event, or a swarm is incoming — activate it. Getting the team ahead of the swarm stabilizes chaotic fights.
Pro Tips and Skill Checklist
Spotter Mastery Checklist:
- Use Scanner during every swarm or elevator defense
- Save Crit Dart charges for elite and priority targets
- Stay mobile — never anchor in one location
- Carry a flare gun or visibility tool for easier crit dart shots
- Build crit damage and weak spot upgrades first
Rogue Core gets dark and enemies move fast. Taking a flare gun makes landing crit darts dramatically easier and smooths out the whole class — better visibility means consistent target tracking for you and your team.
FAQ
Q: Is the Spotter a pure support class among the Deep Rock Galactic Rogue Core new classes?
No. While support is part of its identity, the Spotter becomes a genuinely dangerous offensive character when built around crit damage and target priority. You can realistically become one of the highest damage dealers while still supporting the team.
Q: Should I use Crit Dart zones or direct hits?
Direct hits are generally more reliable since the darts travel fast and mark instantly. However, terrain-impact zones are useful in tighter cave systems where enemies funnel through choke points, creating a temporary kill zone.
Q: What is the best weapon for a newer Spotter player?
The Beltsrom CMP60 is the more forgiving option and pairs well with an aggressive run-and-gun style. The M1000 Classic is rewarding for precise aim but punishes missed shots during chaotic fights.
Q: How does Ranger's Pocket ammo resupply work?
Ranger's Pocket lets you deploy a single-use ammo pack for yourself or a teammate. It refreshes whenever you interact with a munitions crate, so it remains a reliable support tool throughout the run rather than a one-time panic button.