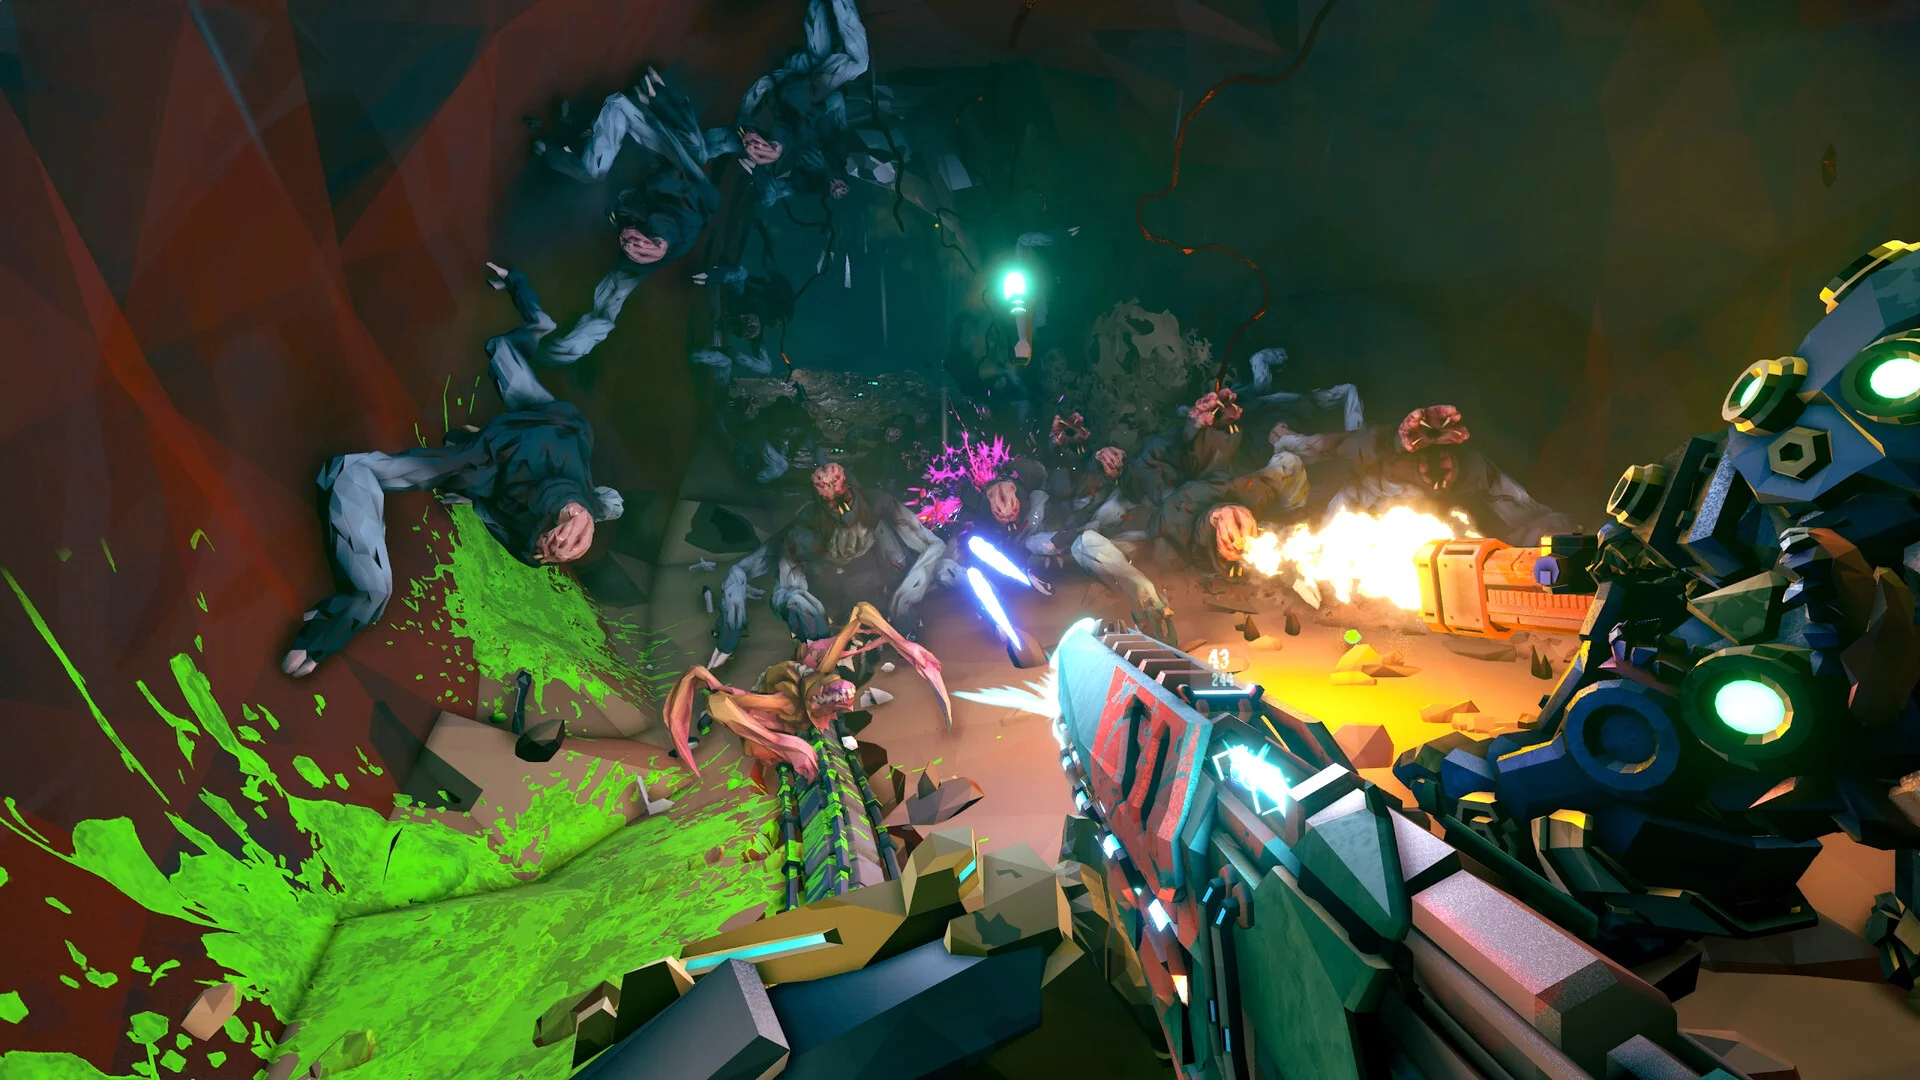
- Deep Rock Galactic Rogue Core Spotter build turns a support class into a crit-damage amplifier for the whole squad.
- Crit Dart marks priority targets so all incoming damage critically hits — save charges for elites.
- Scanner outlines enemies and supplies for the team for 10 seconds; use it during swarms and elevator defenses.
- Ranger's Pocket deploys a single-use ammo pack and refreshes at munitions crates.
- Best build direction: crit chance, crit damage, weak spot damage, plus mobility upgrades to stay alive.
Spotter Overview: Why This Build Works
The Spotter may look like a pure support class, but a well-tuned Deep Rock Galactic Rogue Core Spotter build is one of the most impactful setups you can bring into deep runs. The class is built around two ideas: information and amplification. You feed your team real-time battlefield awareness through passive scanning, then expose priority enemies so they get deleted as fast as possible. In Rogue Core, where elite enemies can spiral out of control quickly, that combination becomes increasingly valuable the deeper you go.
Video Highlights:
- Crit Dart marks enemies so team damage critically hits — direct hits apply instantly
- Active Scanner outlines enemies and supplies for the whole team for 10 seconds
- Ranger's Pocket gives a reusable emergency ammo supply that refreshes at munitions crates
- Best upgrades stack crit chance, crit damage, weak spot damage, and mobility
The Spotter is not a front-line tank. Play it like a glass cannon support: stay mobile, mark the biggest threat, let your team melt it, then reposition before swarms close in.
Ability Breakdown and Comparison
Every Spotter build starts with understanding the three-kit pieces and when to lean on each one. The table below breaks down how each ability works and when it delivers the most value.
| Ability | Effect | Best Use Case | Priority |
|---|---|---|---|
| Crit Dart | Marks enemies so incoming damage critically hits; can create a crit zone on terrain impact | Elite enemies like the Edge Stalker or Clammerhead | ★★★★★ |
| Scanner (Passive) | Scans nearby enemies every few seconds, marks them as blips on your display | General awareness in dark, chaotic caves | ★★★★☆ |
| Scanner (Active) | Outlines enemies and supplies for the whole team for 10 seconds | Swarms, expedite events, elevator defenses | ★★★★★ |
| Ranger's Pocket | Deploys a single-use ammo pack for you or a teammate; refreshes at munitions crates | Emergency resupply deep in runs | ★★★☆☆ |
Crit Darts travel extremely fast and direct hits mark instantly, which makes them forgiving to use. The terrain-impact crit zone is more situational — it shines in tighter cave systems where enemies funnel through choke points — but direct application is generally the more reliable habit. Save your charges: wasting darts on trash mobs is the most common beginner mistake with this class.
Never panic-throw Crit Darts at the first enemy you see. Identify the biggest threat in the room and mark that target so your squad can focus it down immediately.
Best Weapon and Grenade Loadouts
The Spotter supports multiple playstyles well, and your weapon choice defines how the build feels in combat. Here are the two strongest directions:
| Loadout | Weapon | Playstyle | Skill Floor | Damage Ceiling |
|---|---|---|---|---|
| Precision Crit | M1000 Classic | Accurate crit-focused shots, rewards true aim | High | Very high |
| Run and Gun | Beltstrom CMP60 | Aggressive automatic fire paired with Crit Dart bursts | Low-Medium | High |
| Utility Hybrid | Any + Cryo Grenade | Control-focused, freezes threats for the team | Medium | Situational |
| Burst Combo | Any + Sticky Grenade | Dart a target, stick it, delete elite health bars | Low | Very high |
The Sticky Grenade combo deserves special mention: mark a priority target with a Crit Dart, stick the grenade directly onto them, and watch huge chunks of health disappear almost instantly. This works especially well against elites and bosses where concentrated burst damage matters most. Cryo grenades are a strong alternative if you want a more supportive, control-oriented feel.
Precision Sniper
- M1000 Classic
- Weak spot damage scaling
- Highest skill ceiling
- Punishing on missed shots
Aggressive Auto
- Beltstrom CMP60
- Run-and-gun mobility
- Forgiving during chaos
- Great burst with Crit Dart
Utility Support
- Cryo Grenade
- Team-wide crowd control
- Pairs with any weapon
- Ideal for defensive events
Bring the flare gun. Better visibility makes landing Crit Darts dramatically easier — Rogue Core gets dark, enemies move fast, and a lit cave means your whole team tracks targets more consistently.
Step-by-Step: Building Your Spotter
Follow this progression path to take a fresh Spotter from early runs into deep, high-complexity missions without wasted upgrades.
Learn the Core Loop
Identify the biggest threat, mark it with Crit Dart, help focus it down, reposition, scan when fights get chaotic, and repeat. Drill this loop until it's automatic.
Pick Your Weapon Direction
Choose the M1000 for precision crit play or the CMP60 for aggressive run-and-gun. Build your upgrades around whichever fits your aim and comfort level.
Invest in Offensive Scaling
Prioritize crit chance, crit damage, weak spot damage, and general damage amplification. Your kit already creates burst opportunities — upgrades that amplify them make the class snowball.
Add Mobility Upgrades
Cave systems get more dangerous and harder to traverse as mission complexity rises. Movement speed and repositioning tools keep your glass-cannon Spotter alive long enough to matter.
Optimize Bio Booster Decks and Enhancements
Lean into crit-efficiency bio booster decks, then pick enhancements that improve crit consistency, weak spot damage, or weapon handling while moving.
If you're unsure where to start, crit damage amplification is the safest and strongest path for the Spotter right now. More crit synergy means more value from Crit Dart, more burst damage, and more team impact overall.
Team Synergy and Pro Tips
The Spotter pairs well with basically every class in the game, but it truly shines when teammates understand how to capitalize on Crit Darts. A coordinated, damage-built squad makes elite enemies disappear absurdly fast — especially on higher difficulties where armored enemies become much more threatening. The class doesn't dominate through flashy mechanics; it dominates by making everyone else on the team stronger.
Top tips that immediately improve your Spotter play:
- Use Scanner more often. If you just called the elevator, triggered an expedite event, or a swarm is incoming, activate Scanner and help your team get ahead of the pressure.
- Prioritize Crit Dart targets intelligently. Bigger threats almost always take priority over trash mobs.
- Never stop moving. Getting trapped as a glass cannon ends runs fast — mobility separates average Spotters from great ones.
- Carry visibility tools. The flare gun makes dart placement and team target-tracking far smoother.
Spotter Mastery Checklist:
- Mark an elite enemy with Crit Dart within 5 seconds of a swarm starting
- Activate Scanner during every elevator defense or expedite event
- Land a Sticky Grenade on a darted elite for a burst kill
- Complete a deep run without anchoring in one position for more than a few seconds
- Resupply a teammate with Ranger's Pocket at a critical moment
Ammo economy becomes a huge factor deeper into runs. Ranger's Pocket refreshes at every munitions crate, so treat it as a reliable recurring support tool, not a one-time panic button.
FAQ
Q: Is the Spotter a pure support class in Rogue Core?
No. While support is part of its identity, the Spotter becomes a genuinely dangerous offensive character when built around crit damage and target priority. A well-built Deep Rock Galactic Rogue Core Spotter build can realistically become one of the highest damage dealers on the team while still supporting everyone.
Q: Should I use the Crit Dart terrain zone or direct hits?
Direct application is generally more reliable since darts travel fast and mark instantly on hit. However, the terrain-impact crit zone is useful in tighter cave systems or when enemies funnel through choke points, creating a temporary kill zone.
Q: What are the best upgrades for the Spotter?
Focus on crit chance, crit damage, weak spot damage, and general damage amplification, plus mobility upgrades to survive deep runs. For bio booster decks and enhancements, crit-efficiency and accuracy-rewarding options are the strongest current path.
Q: Which enemies should I mark with Crit Darts?
Save charges for large priority threats like the Edge Stalker and Clammerhead. Only spend darts on weaker trash enemies when things are getting completely out of control.