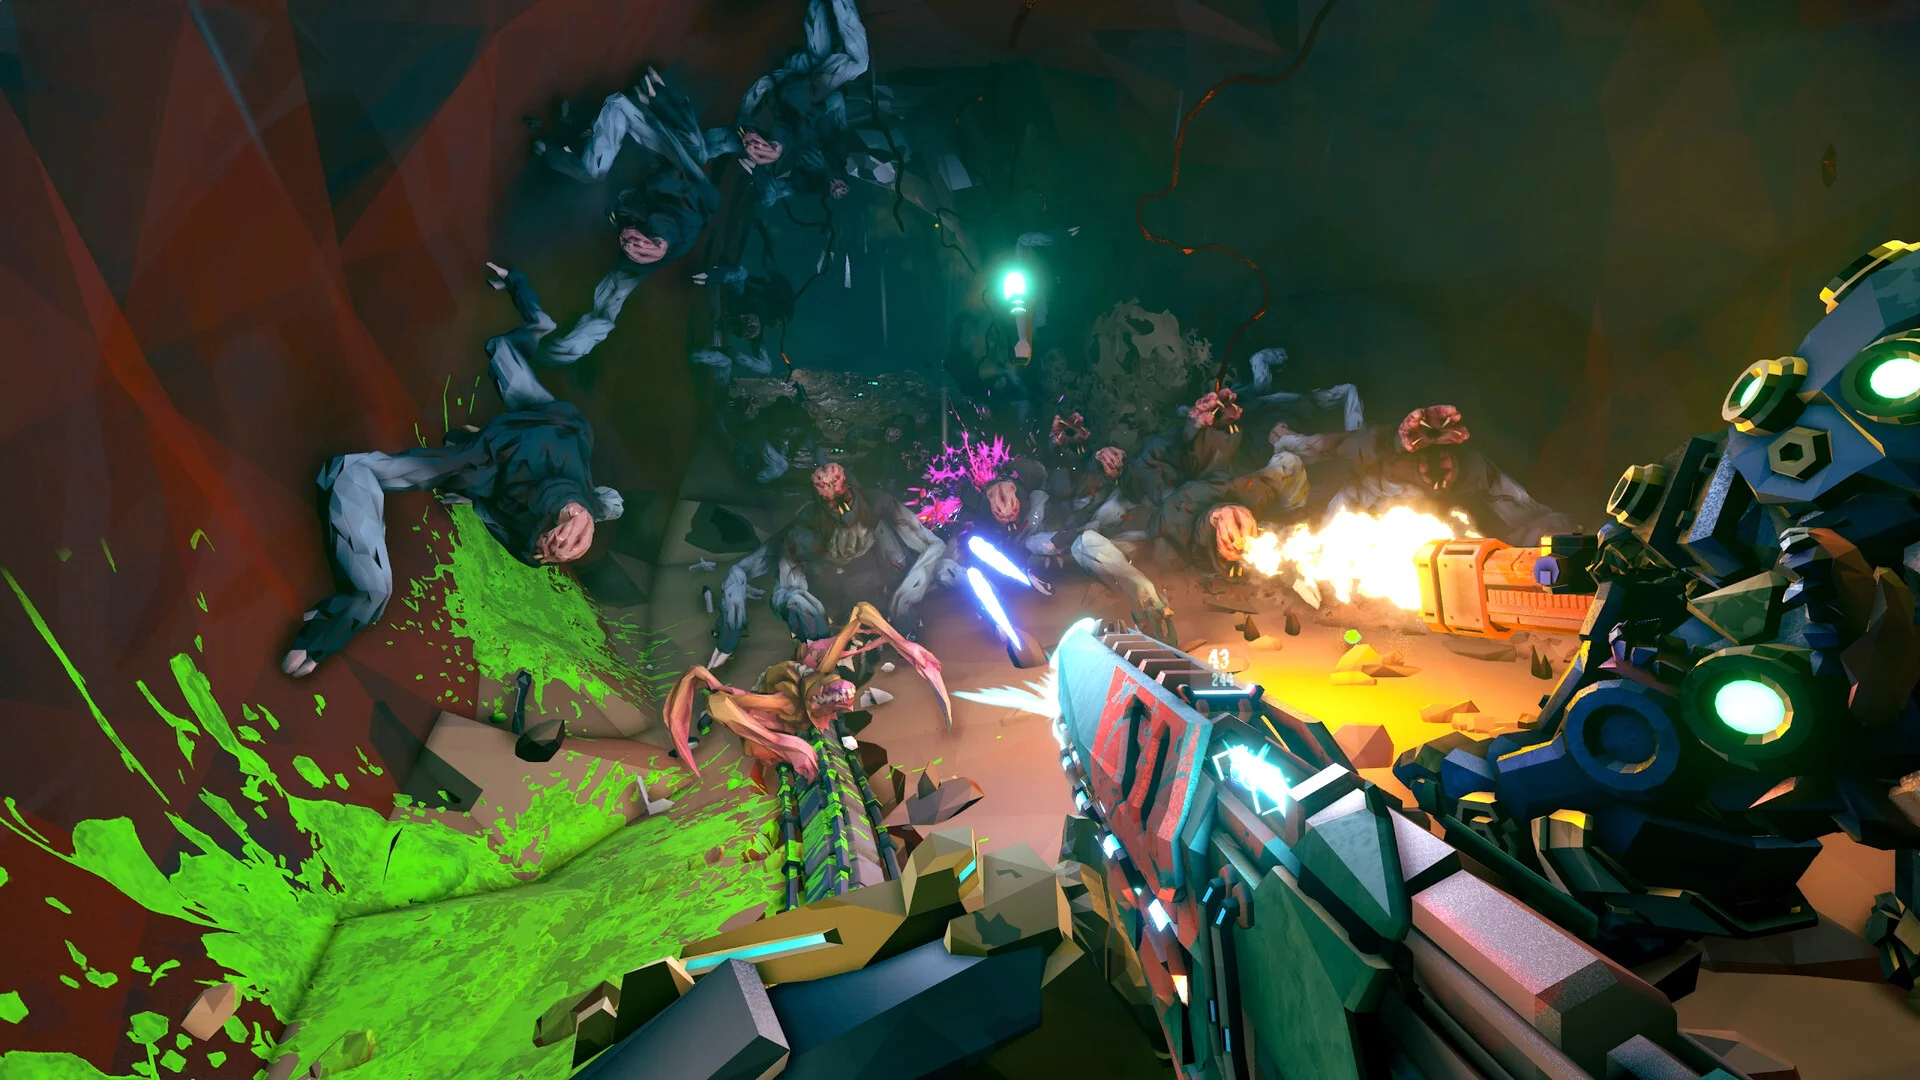
- Deep Rock Galactic Rogue Core is a roguelite co-op spin-off with runs, upgrades, and permanent progression.
- Expenite is the core resource: mine it, deposit it at your drone, and level up your whole team mid-run.
- Intel tasks and directives unlock clearance levels, security overrides, and long-term power.
- Watch the threat aggression meter or invincible Reaper worms will harass your squad.
- Build synergy beats rarity: a common upgrade that fits your build often outperforms an epic one.
Rogue Core Basics: What Makes It Different
Deep Rock Galactic: Rogue Core keeps the four-dwarf co-op DNA of the original but reshapes it into a roguelite. Instead of single-drop missions, you fight through multi-floor facilities on Hoxxes IV, hunting the mysterious green mineral Expenite, leveling up mid-run, and making persistent choices that carry across your entire save.
Video Highlights:
- Overview of all five Reclaimer classes and their abilities
- How Expenite deposits trigger team-wide level-ups
- Intel tasks, directives, and the enhancement skill tree explained
- Elevator defense and risk factor choices between floors
Your first stops on the ship matter. Before any run, you should understand three systems:
| System | Location | What It Does |
|---|---|---|
| Operations Command | Ship terminal | Mission stats, run history, directives, deployments |
| Enhancements | Skill tree terminal | Permanent upgrades bought with chips from runs |
| Loadout | Loadout terminal | Assign enhancements, swap classes, preview bio booster decks |
After each run, manually claim Intel points at the mission terminal and completed directives at Operations Command. Forgetting to claim is one of the fastest ways to fall behind on clearance levels.
All Five Classes Compared
Rogue Core launches early access with five Reclaimers. None is strictly best — each fills a distinct squad role, and higher difficulties practically demand a balanced team.
| Class | Role | Signature Ability | Difficulty |
|---|---|---|---|
| Spotter | Support | Scanner outlines enemies within 35m every 4s; crit darts grant +100% crit chance | Easy |
| Guardian | Frontline tank | Concussive Barrage stuns 6s; Armor Beacon restores up to 50% armor in 6m | Easy |
| Recon | High-skill specialist | Rewind Time restores saved position, ammo, health, and armor | Hard |
| Falconer | Offensive support | Shock Drone patrols and deals electric/explosive damage; remote revives | Medium |
| Slicer | Pure offense | Slice melee cleaves armor and crowds; Shield Belt blocks ranged attacks | Medium |
Best for Beginners
- Falconer: forgiving kit with drone damage and remote revives
- Strong solo and team value
- Thunder Rod buffs +100% electric damage in 8m
Best for Teams
- Guardian: Repulsion Field clears space for revives
- Armor Beacon sustains the whole squad
- Nearly essential on higher depths
Highest Skill Ceiling
- Recon: Rewind Time requires planning
- Contingency Plan auto-revives when the last dwarf falls
- Deadly in practiced hands
You can swap classes freely at the loadout terminal between runs. Try all five before committing enhancement chips — the differences in playstyle are significant.
Mission Terminal, Depth, and Clearance Levels
Hoxxes IV features multiple biomes and four depths. Reading the mission terminal correctly saves you from walking into a facility you are not prepared for.
| Mission Detail | Meaning |
|---|---|
| Map marker position | Which biome you will explore |
| Marker icon | Which boss awaits on the final floor |
| Depth | Overall difficulty; unlocks with clearance levels |
| Facility length | Number of floors before the boss floor |
| Complexity | Traversal challenge; higher = more vertical, maze-like caves |
Intel tasks are the key to progression. Completing them earns Intel points, which unlock the next clearance tier — each granting something tangible, like Security Override Alpha (permanent grenade locker access at run start) and Complexity 2 facilities.
Prioritize missions that align with your active Intel tasks. This is the most efficient way to collect points and unlock clearance tiers early, when the power gains matter most.
In-Run Systems: Expenite, Events, and Elevators
Once underground, the run becomes open-ended. Your primary loop is mining Expenite, depositing it with your drone (C to call, E to deposit), and filling the top-right bar to trigger a team level-up with permanent in-run upgrades. The whole team must gather at the drone to activate it.
Key floor interactions to know:
| POI | How It Works | Reward |
|---|---|---|
| Munition crates | Charges equal to squad size | Half ammo and armor; take only one |
| Armor crates | Charges equal to squad size | Restores character armor |
| Workbench | Retrieve toolbox as a team, then choose | Class or weapon upgrade, or extra weapon |
| Bio booster containers | Hack via timing mini-game | One of two potent character-unique upgrades |
| Data terminals | Button-matching mini-game | Reveals all POIs on the floor |
| Security cameras | Hard-to-reach spots | Reclaimer currency and Intel task credit |
| Expenite events | Trigger core spawn waves | Massive Expenite payouts |
Farm Expenite Early
Mine every vein you see. The lighter bar in the top-right shows total team-held Expenite, so you always know whether a level-up is close.
Manage Threat Aggression
Complete the floor before the meter fills, or invincible Reaper worms will harass the squad until you finish or wipe.
Defend the Elevator
Hitting the switch starts a timer and a core spawn attack. Guard the generator, repair it with E if damaged, and board the elevator when it arrives.
Choose Risk Factors
Between floors, pick one of two affix-plus-bonus pairs. Effects persist and stack all mission, so weigh the challenge against rewards like heavy weapon crates or artifact buffs.
Activating an Expenite event triggers its own core spawn waves, which stack with any incoming waves already on the threat meter. Check the meter before committing.
Enhancements, Loadouts, and Currency
The enhancement tree has four tiers at early access launch. Chips earned per run (based on Reclaimer currency from directives and deployments) unlock nodes top-down, and deeper tiers hold the most powerful upgrades. Back at the loadout terminal, spend currency to open all eight enhancement slots per class and slot in what you unlocked.
First Session Goals:
- Claim all Intel points and reach Clearance Level 2
- Unlock Security Override Alpha for the grenade locker
- Complete a class deployment task for bonus currency
- Unlock your first enhancement tier nodes
- Try all five Reclaimers at least once
Class-specific deployment tasks can be rerolled once per day. Keep them aligned with the class you actually plan to play for easy extra currency.
FAQ
Q: Is Deep Rock Galactic Rogue Core a sequel or a standalone game?
It is a roguelite co-op spin-off built on the original Deep Rock Galactic formula. It keeps four-player co-op and class-based play but adds runs, Expenite farming, mid-run level-ups, and long-term meta progression.
Q: Which class should a beginner pick?
The Falconer and Guardian are the most forgiving picks. The Falconer's shock drone and remote drone revive provide safety nets, while the Guardian's Armor Beacon and Repulsion Field keep the whole team alive during swarms.
Q: What happens if the threat aggression meter fills up?
Invincible Reaper worms spawn and continuously harass your team until you complete the floor or die. Finish objectives efficiently and avoid stacking event waves to keep the meter under control.
Q: Are rare upgrades always the better choice?
No. Rarity matters less than build synergy. A common upgrade that fits your weapon and class direction frequently outperforms a flashy epic pick that does nothing for your build.