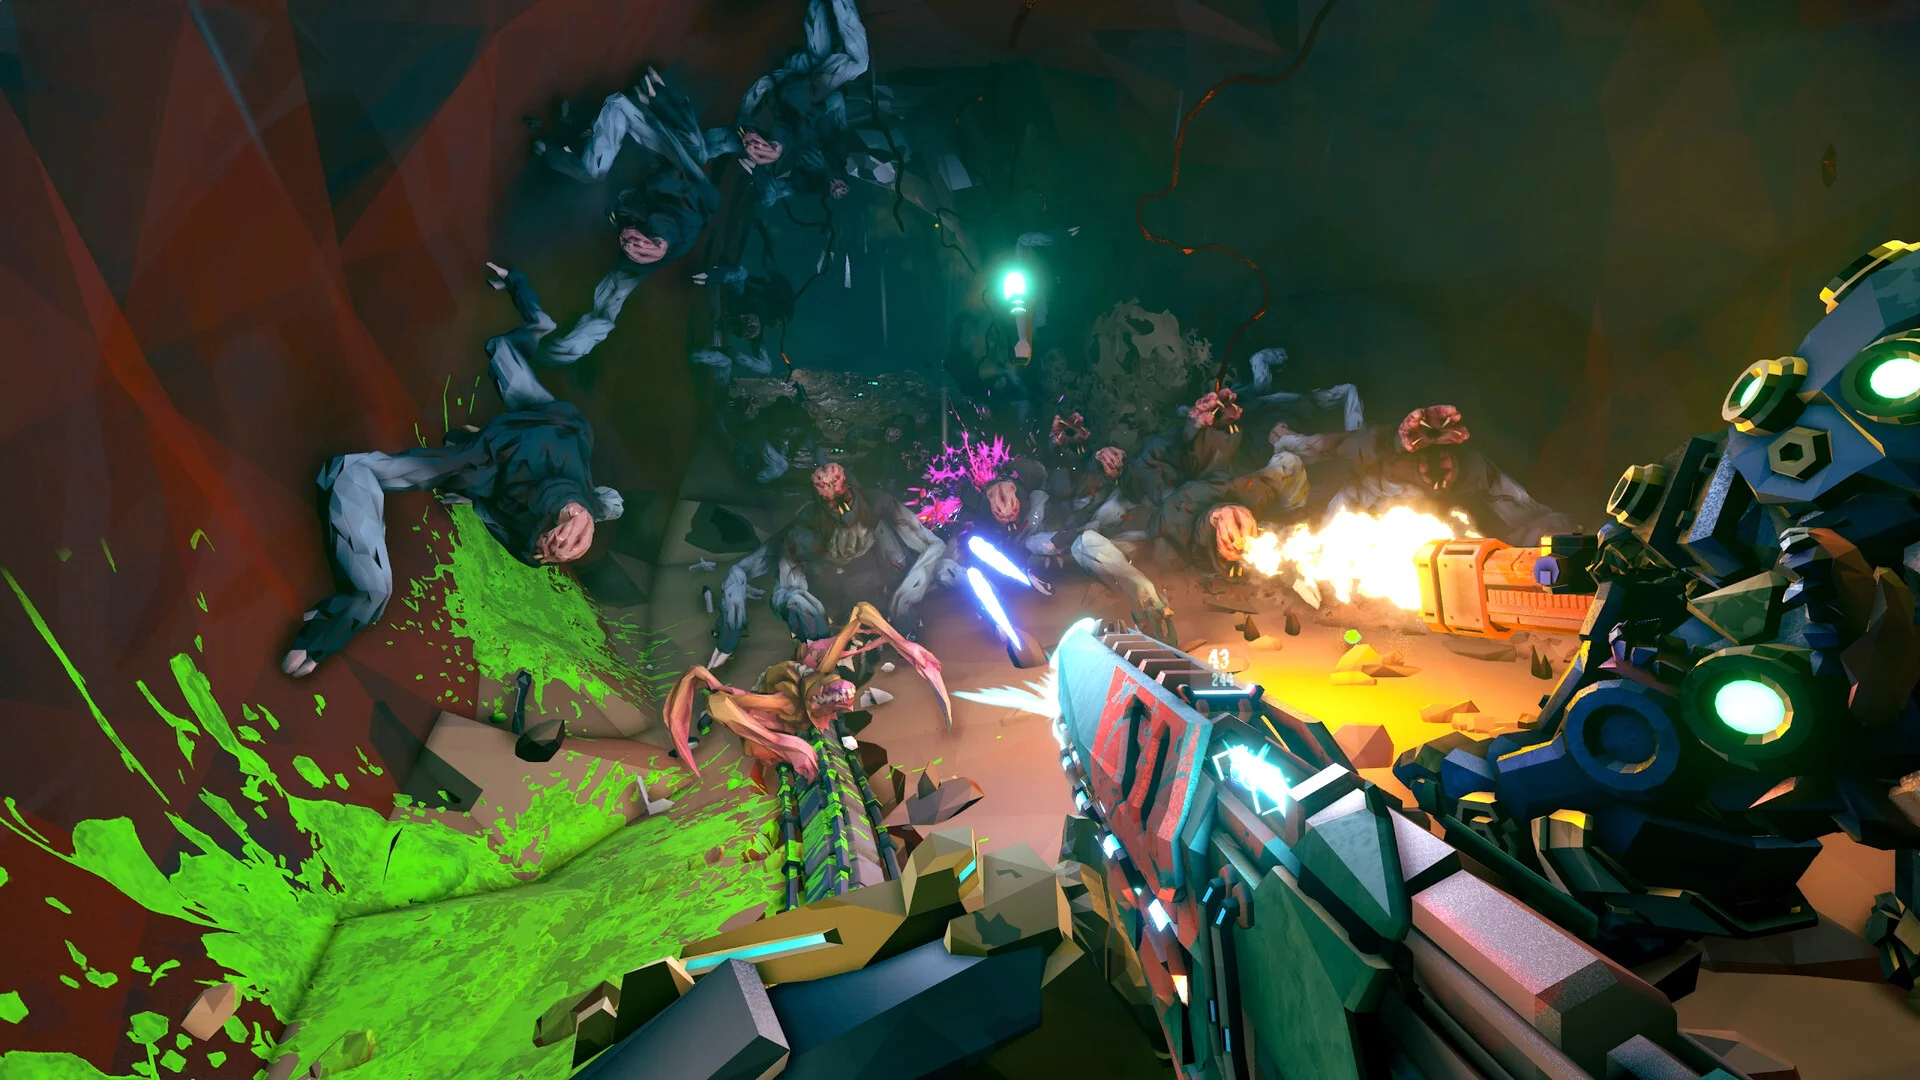
- Deep Rock Galactic Rogue Core is built around an oppressive time limit — speed matters more than thoroughness.
- Stick to one Reclaimer until level 15 to unlock Ascension and Gauntlets early.
- Cooper is your best friend in solo play — laser-point everything: mining, toolboxes, red sugar.
- Weak point damage and red sugar chunk generation are the two strongest upgrade paths.
- Call the elevator around 80–85% of the run timer to avoid the perma-spawn death spiral.
Deep Rock Galactic Rogue Core: 25 Things I Wish I Knew Sooner
Deep Rock Galactic Rogue Core is a punishing roguelite, especially on higher difficulties and in solo play. These tips and hidden mechanics — gathered across dozens of hours on both the playtest and full release — will save you from the mistakes most new Reclaimers make. The single biggest theme: time efficiency beats exploration almost every single run.
Video Highlights:
- How to make Cooper carry the toolbox for you in solo play
- Why you should never waste time exploring off the critical path
- The four key elements that spawn on every level of every run
- Settings tweaks that measurably improve your aim and awareness
- The best and worst risk vector trade-offs to pick between levels
Until the final boss fight, the clock is your real enemy. Unlimited time only kicks in at the boss — every second before that should be spent mining, upgrading, or moving toward the elevator.
Ascension, Progression, and Deck Swapping
The most common early-game mistake is bouncing between Reclaimers. Merits are scarce, upgrade slots are expensive, and splitting your progress across characters leaves you with weak builds for far too long.
| Progression Tip | Why It Matters |
|---|---|
| Rush one Reclaimer to character level 15 | Unlocks Ascension and Gauntlets early |
| Play Gauntlets after Ascending | Great source of merits and extra rewards |
| Don't swap characters constantly | Upgrade slots cost many merits; stay strong |
| Ascend two characters to unlock deck swapping | Mix bio booster pools between classes |
Deck swapping is a hidden powerhouse. Once you've Ascended two Reclaimers (for example, the Slicer and the Guardian), you can slot four bio booster choices from the other class into your main character. In-game, bio booster pods will then offer one choice from each class pool — the best of both worlds, and a considerable power spike.
Pick the Reclaimer you'll enjoy most, commit to level 15, Ascend, then immediately start a second character. Two Ascensions unlock deck swapping — one of the strongest account-wide systems in the game.
Time Efficiency: The Four Key Elements and Mining
Don't explore. Every level spawns the same four key features — hit those, grab expanite on the way to the elevator, and skip everything else.
Bio Booster Pod
- Increases your character's strength
- Prioritize weak point damage and red sugar chunk generation
Equipment Workbench
- Upgrades your weapons
- Take the extra weapon choice on the first workbench
Data Terminal
- Reveals all points of interest on the map
- Eliminates aimless exploration
Event (One Per Level)
- Rock breaker, surveyor drones, and more
- Skip excavation events in solo — low reward, big time sink
| Mining Tip | Details |
|---|---|
| Call the REPD drone immediately at ore veins | Mine, dump, move — don't wait on arrival |
| Blow up expanite and red sugar | Explosives break ores instantly |
| Skip the last ~5% of each vein | Leftover fragments are worth ~0.1 expanite |
| Don't trigger swarm geodes | Depositing one spawns a horde wave |
Mining dirt for eight geodes wastes several minutes for poor rewards — and the swarm geode can accidentally trigger a horde. Spend that time on expanite veins and buckets instead.
Data terminal mini-game trick: read the code backwards. Codes are grouped by the last three numbers on each side of the terminal. Find the number group first, then match the first three characters — this roughly halves your decoding time compared to matching the front characters key by key.
Cooper Mastery and Toolbox Logistics
In solo play, Cooper is not optional on high difficulties — it's your second crew member. Use the laser pointer relentlessly.
| Cooper Task | How |
|---|---|
| Carry the toolbox | Laser-point the toolbox; Cooper picks it up and follows you to the workbench |
| Mine expanite | Point at veins and let Cooper chip in |
| Mine red sugar | Free healing, zero downtime |
| Toolbox juggling (multiplayer) | Charge a throw forward, pick it up, repeat |
For Cooper's upgrades, skip raw damage — it falls off by end game. The winning build:
| Upgrade Priority | Value |
|---|---|
| Stun chance | ★★★★★ |
| Extra rocket | ★★★★★ |
| Movement speed | ★★★★ (escapes cave leeches much faster) |
| Rate of fire | ★★★★ |
When your own upgrade choices are mediocre, pick Cooper's upgrade instead — you can't take the Cooper upgrade seated directly below a self-upgrade you already took, so plan around it.
Weak point damage increase trivializes solo boss fights, and red sugar chunk generation on kills gives near-constant healing. Build around both and the combat difficulty melts away.
Settings, Risk Vectors, and Utility Choices
A few settings changes will straight up make you play better:
| Setting | Recommendation | Effect |
|---|---|---|
| View bob | Off entirely | Better aim |
| Camera shake | 25% minimum | Better aim, cleaner weak spot hits |
| Photosensitivity mode | On | Removes screen noise, cleaner image |
| FOV | 120 | Better environmental awareness |
| Mouse smoothing | Off | Cleaner aim |
For your starting utility, verticality is king:
| Utility | Ranking |
|---|---|
| Anti-gravity emitter | ★★★★★ — best in game |
| Zipline | ★★★★ — close second |
| Platform gun | ★★★ — last resort |
For risk vectors between levels, the artifact is essentially gilded — always take it unless the downside is genuinely terrible. Balance the trade-offs:
| Risk Vector Downside | Verdict |
|---|---|
| Creepers with double health | Avoid at all costs — swarms become twice as hard |
| Enemy regeneration | Barely noticeable |
| Invisible creepers | Frustrating but manageable |
Workbench tip: on the first workbench of a run, take the extra weapon choice unless it's a trash option. If it is, grab the heavy weapon crate risk vector to guarantee a weapon by level two.
Elevator Defense: The Run-Ending Mechanic
Most new players camp the generator and get overwhelmed. Here's the correct sequence:
Call the Elevator Early
Trigger the elevator at roughly 80–85% of the run timer. Waiting until 95% invites the perma-spawn loop, countless enemies, and repeated generator breaks — a near-guaranteed wipe.
Walk Away From the Generator
Distancing yourself pulls enemy spawns away from the generator. Most enemies will chase you instead, letting you kite them while the elevator arrives.
Respond Only When Needed
Return only if the generator breaks — wipe out nearby enemies, then leave again. Expect one or two breaks at most, versus eight when camping.
Every-Run Checklist:
- Complete all four key elements: booster pod, workbench, data terminal, event
- Call the REPD drone the moment you reach a vein
- Laser-point Cooper onto toolboxes and red sugar
- Take the artifact risk vector whenever offered
- Call the elevator at 80–85% of the timer
Most of these tips are solo-focused because solo maximum difficulty is brutally hard — but nearly all of them apply equally to online and grouped play.
FAQ
Q: Should I explore every cave in Deep Rock Galactic Rogue Core?
No. The game is designed around an oppressive time limit until the final boss. Complete the four key elements (bio booster pod, workbench, data terminal, event), mine expanite on the way to the elevator, and leave events, veins, and expanite behind if they cost too much time.
Q: Which Reclaimer should I level up first?
Pick the one you'll enjoy most, but stick with that single character until level 15. Rushing one character to Ascension unlocks Gauntlets, which are a great merit source. Constantly swapping characters leaves you merit-starved and running weak builds.
Q: What are the best upgrades in Rogue Core?
Weak point damage increase and red sugar chunk generation. Weak point damage makes soloing bosses easy, and red sugar chunks on kills provide constant healing — arguably one of the strongest upgrades in the game despite its rarity.
Q: How do I stop the generator from breaking repeatedly?
Don't camp it. After calling the elevator, walk away from the generator so enemies spawn near you instead. Kite them while the elevator arrives, and only return to clear enemies if the generator actually breaks.